



























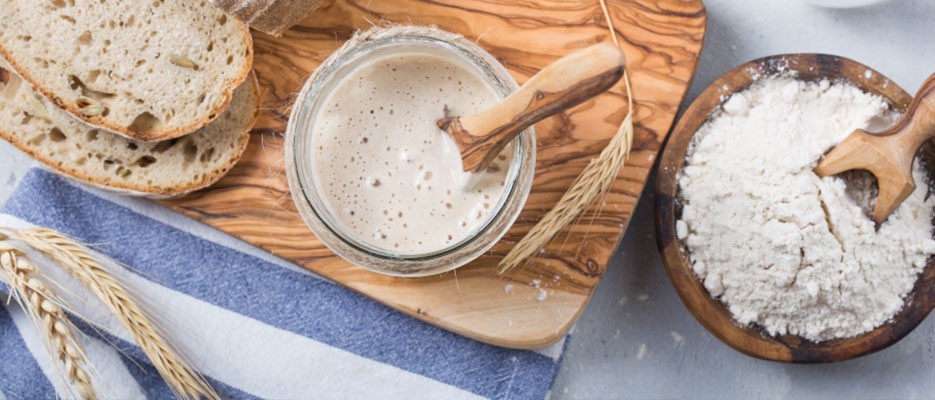
Sourdough starter is the healthiest and most natural alternative to regular yeast, which you use to prepare sweet breads, bread or other fluffy treats. It is also one of the most popular pandemic choices, due to its multiple benefits.
Of course, the process of making it takes longer, certainly longer than buying yeast. However, the benefits are worth it if you choose to have a little patience until it is ready, meaning at least 7 days.
What do you need in order to achieve a satisfactory result?
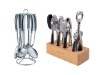
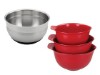
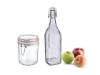
- a large bowl or glass jar
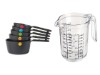
- a measuring cup
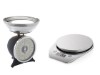
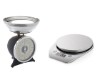
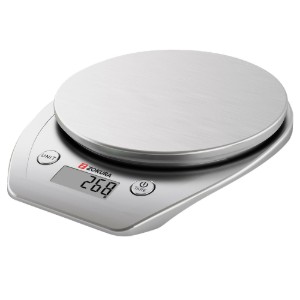
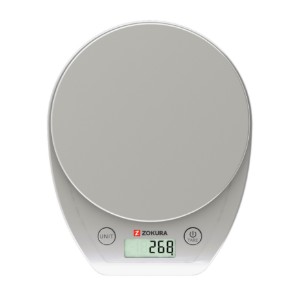
- the indispensable kitchen scale
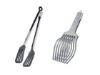
- a spatula that you will use quite often
- flour and filtered water
In this article, we have prepared a few reasons why you should choose sourdough starter over other options and how you can prepare it at home.
Benefits of products made with natural sourdough starter
Healthy digestion
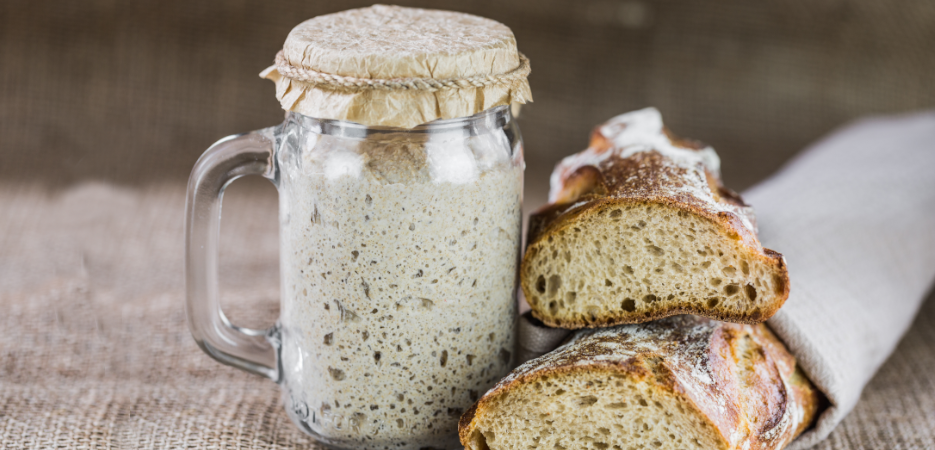
Why sourdough starter and not ready-made, packaged yeast? Unlike yeast that you simply throw into the bowl of flour while waiting for a quick result in terms of dough rising, sourdough starter represents the “hard route”, because fermentation is slow. Of course, slow fermentation also provides the assurance of correct and healthy fermentation. Any naturally fermented food is extremely healthy for digestion, as well as immunity and overall well-being.
Also, bread is a staple food, consumed at almost every meal, but gluten together with other allergens present in it can trigger severe problems in the body. Gluten intolerance or irritable bowel syndrome are the most common symptoms caused by consuming bakery products.
Vitamins
Properly fermented wheat contains proteins, amino acids, carbohydrates, vitamin B, iron, zinc, magnesium. In other words, sourdough starter is the safest way to consume foods that require baking, because the human body needs to benefit from all the nutrients throughout the day.
Weight
Very good news about consuming products made with sourdough starter is that you no longer have to worry about extra pounds. Fortunately, sourdough starter helps digestion precisely because of the natural fermentation process. So, from today on, there is no need to give up bread!
How to prepare sourdough starter at home
Even though it takes longer, preparing it is not complicated at all. Although, when you spend time researching, the process of choosing the perfect recipe might seem demanding because of the fermentation. We have prepared the easiest version for you to start with.
What do you need? Whole wheat flour, still or filtered water necessarily (chlorine will kill the sourdough starter) and the utensils mentioned above. Nothing simpler, right? Whole wheat flour can be combined with white flour if you want it to grow faster. Both options are okay, but it must contain whole wheat flour.
First of all, it should be mentioned that, when preparing sourdough starter, you can adapt the quantities depending on how much mixture you want and how long you want to use it. Equal quantities of flour and water are always used.
Stage 1
To begin, mix equal parts whole wheat flour and water and mix well until you obtain a soft and dense dough. Do not forget to weigh everything when preparing the plan for your sourdough starter.
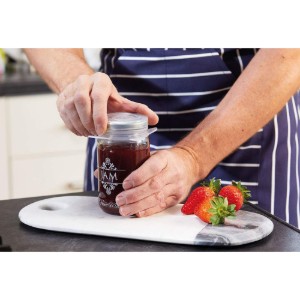
Now, place it in a spacious bowl or a large jar. Cover the contents partially, enough to allow the dough to breathe, and leave it at room temperature to allow fermentation to take place. If you choose to prepare it in a jar, put the lid on, but do not tighten it.
Make sure you have a constant temperature, ideally 21-24⁰C, and not directly on the radiator. Now wait 24 hours for it to rise. You can also mark the level, to make sure it has risen. At lower temperatures the sourdough starter will not rise.
Stage 2
It is very important to know that you do not need to feed the entire sourdough starter, but only half of the mixture throughout the process. Mix the mixture well with a spatula immediately when you check the contents. Of course, now separate part of it into another container (airtight jar or bowl) or, if you know you do not need the sourdough starter that has not reached maturity, you can even throw it away.
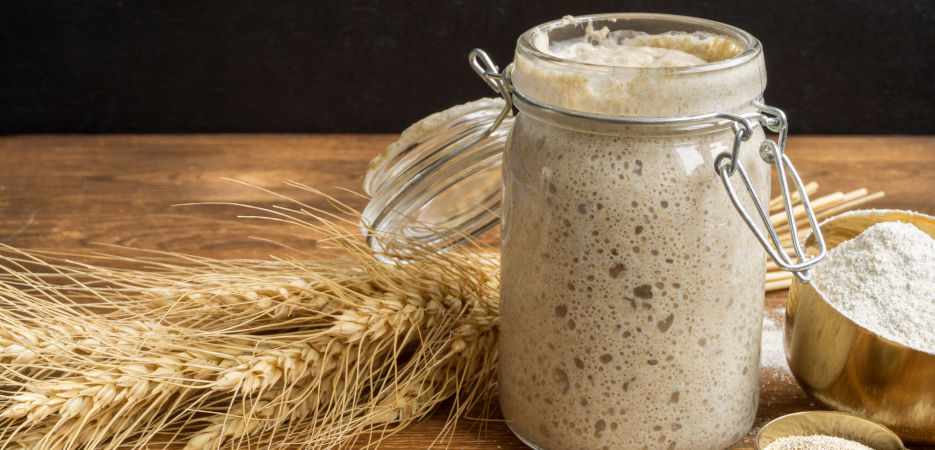
You may notice air bubbles or a slightly sour smell in the mixture. It is okay, it means that the fermentation process has started.
At this stage, feeding is essential for the sourdough starter to grow abundantly and healthily. Feed the sourdough starter with fresh water and flour every exactly 24 hours. Do not forget to use the same quantities every time.
For example, if you started with 100 grams of flour and 100 grams of filtered water, continue with this feeding plan until the end until you reach the desired result.
Stage 3
What should you do when you are close to the result? As each day passes, at exactly 24 hours, the sourdough starter needs care: you discard half, add equal parts flour and water, cover the container lightly and leave it at a warm and constant temperature.
This is defined as feeding the natural yeast. Of course, sourdough starter is a living organism, which is why you will need to take care to keep it active for as long as you need it.
Therefore, starting on day 5, when it has activated and shows many bubbles, you can switch to feeding it once every 12 hours. It will become acidic and will have a strong growth boost!
If until now you have kept equal parts of sourdough starter from the previous day, water and flour, now you can add only flour and water (equal parts as well) and already use the sourdough starter for bread.
Finally, after you have managed to obtain the yeast for bread, flatbreads, sweet breads and other treats you plan to make, you also need to know how to keep it for as long as possible.
Test: put a teaspoon of sourdough starter in a bowl of water. If it floats, it is ready; if it does not, continue feeding it and repeat the process.
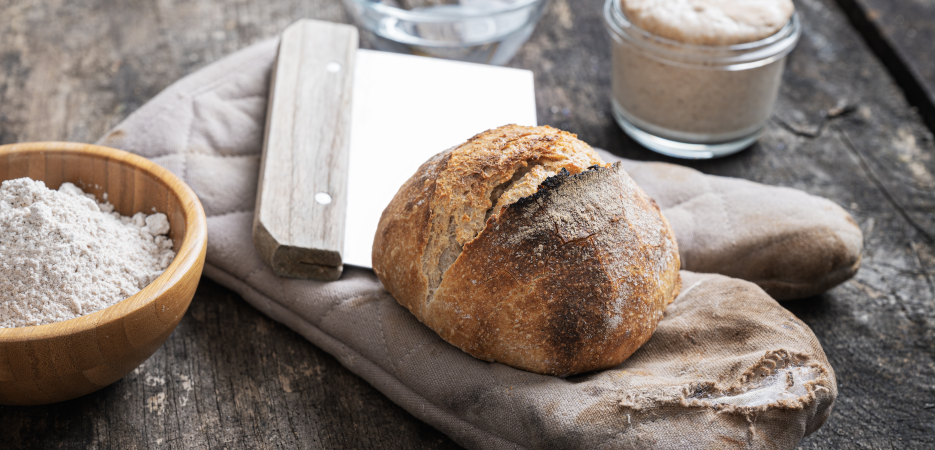
Important tips and tricks
How do you store sourdough starter after preparation?
The secret is to use it while it is active and fresh, in order to enjoy the tastiest bakery preparations, and this is possible if:
- You feed it regularly – you can make sure that the sourdough starter does not “die” if you take time each week to feed it. Before baking again, take the sourdough starter out of the refrigerator and feed it 2-3 times, keeping it at room temperature. Then put it back in the refrigerator and feed it weekly, and so on. So, all you have to do is keep it in the refrigerator and feed it as usual, especially if you often think about a tasty loaf of bread. 😊
- You freeze it – the sourdough starter can be placed in a perfectly sealed jar in the freezer. This storage method keeps the yeast safe for even 1 year, but the defrosting process must be slow and natural.
- You dehydrate it – the dehydration process involves spreading it on a sheet using a brush or spatula, at which point it must be left to dry. Afterwards, the sourdough starter can be removed from the sheet and stored without any problems, in the cupboard next to the other spices.
Delicious sourdough starter recipes
A simple and tasty recipe is offered by Chef Dexter, our partner for gastronomic delights. Below is his sourdough bread recipe.
Other delicious sourdough starter recipes:
- Whole wheat bread with sourdough starter and potato
- Fluffy flatbreads with sourdough starter
- English Muffins
- White bread with sourdough starter and seeds
In the end, sourdough starter is not only a healthier way to prepare bread or other preparations that require rising, but it is also the best way to impress your guests – being much tastier, fluffier, but with a dream crust.
Give yourself time and prepare sourdough starter over a longer period, so you will not have to worry when you crave the best flour-based treats right at home. Have you tried it?
In the end, whether you choose to make natural sourdough starter at home or not, we challenge you to satisfy your cravings with warm homemade bread, cooked exactly the way you want it.
Other recommended products:
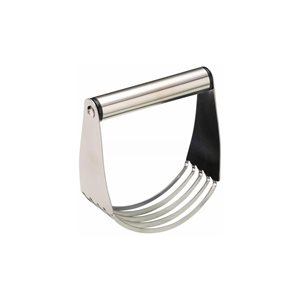
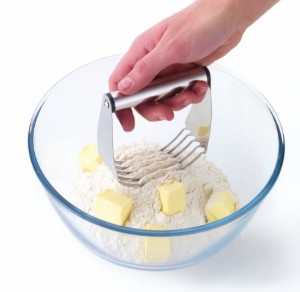
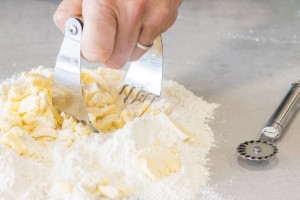
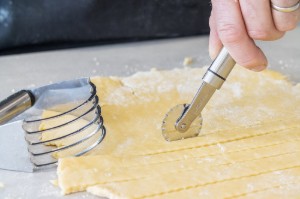
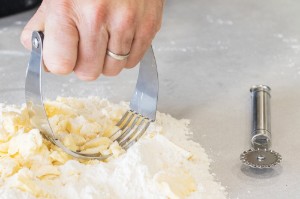
Utensil for flour blending and dough kneading, stainless steel - by Kitchen Craft
Code: KCBLENDERSS
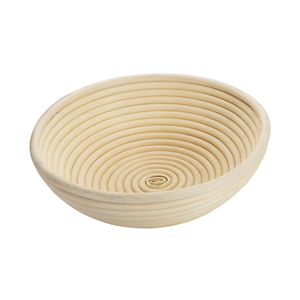
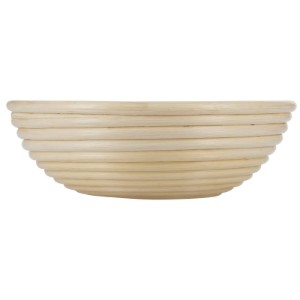
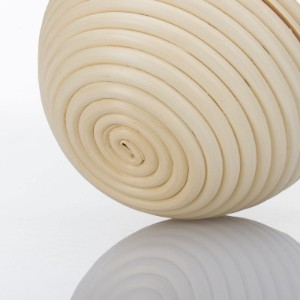
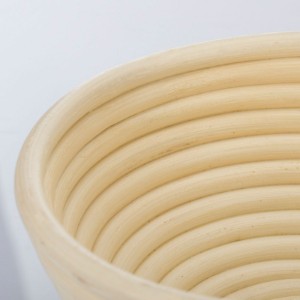

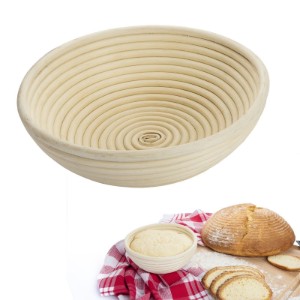
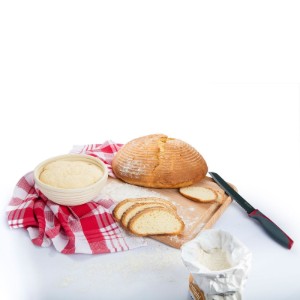
Round basket for dough leavening, 25 cm - Westmark
Code: 32062270
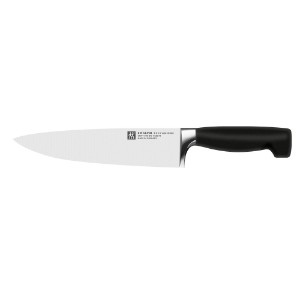


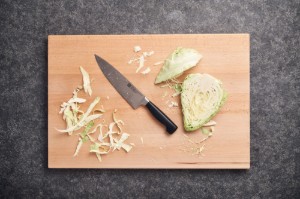

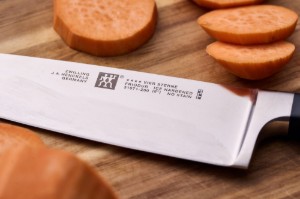
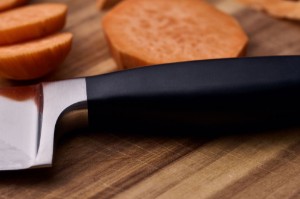

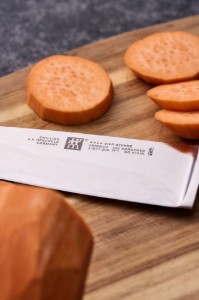

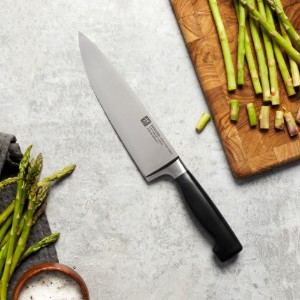
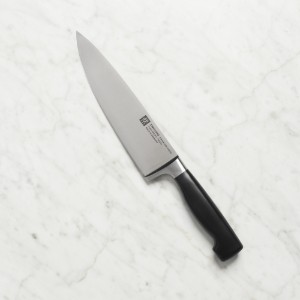
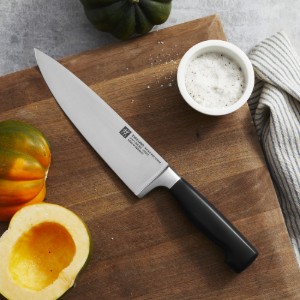

Chef's knife, 20 cm, TWIN Four Star - Zwilling
Code: 31071201
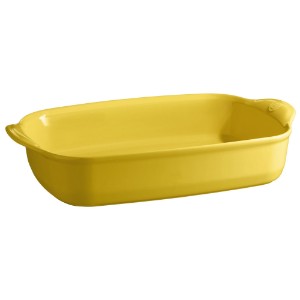
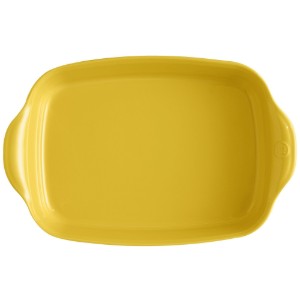
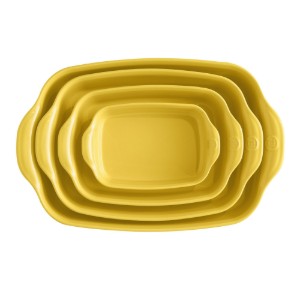


Ceramic oven dish, 42.5x28cm/4L, Provence Yellow - Emile Henry
Code: 965490
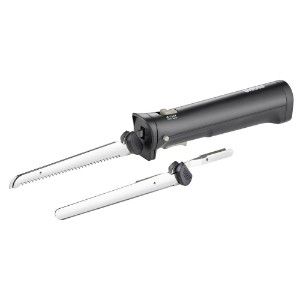
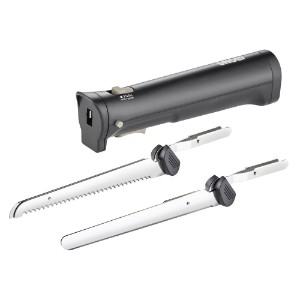
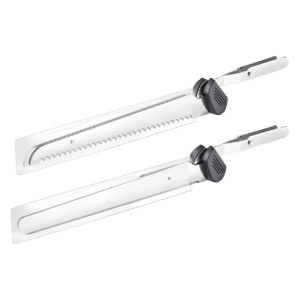
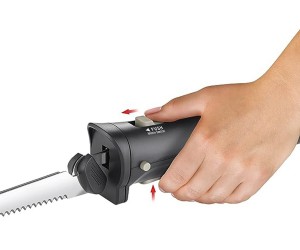
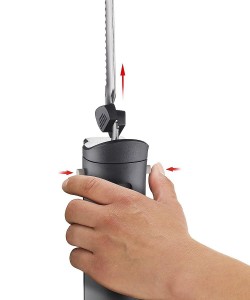
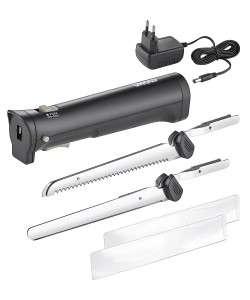
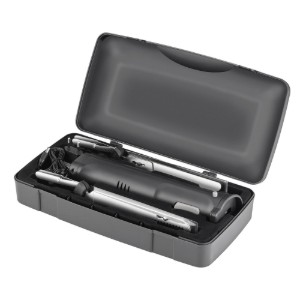
Cordless electric knife, 9W, 47 cm, stainless steel - Unold
Code: U78815


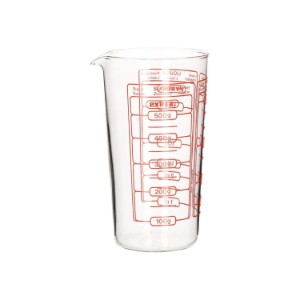
High measuring cup, made of borosilicate glass, 500 ml - PYREX
Code: 888B000